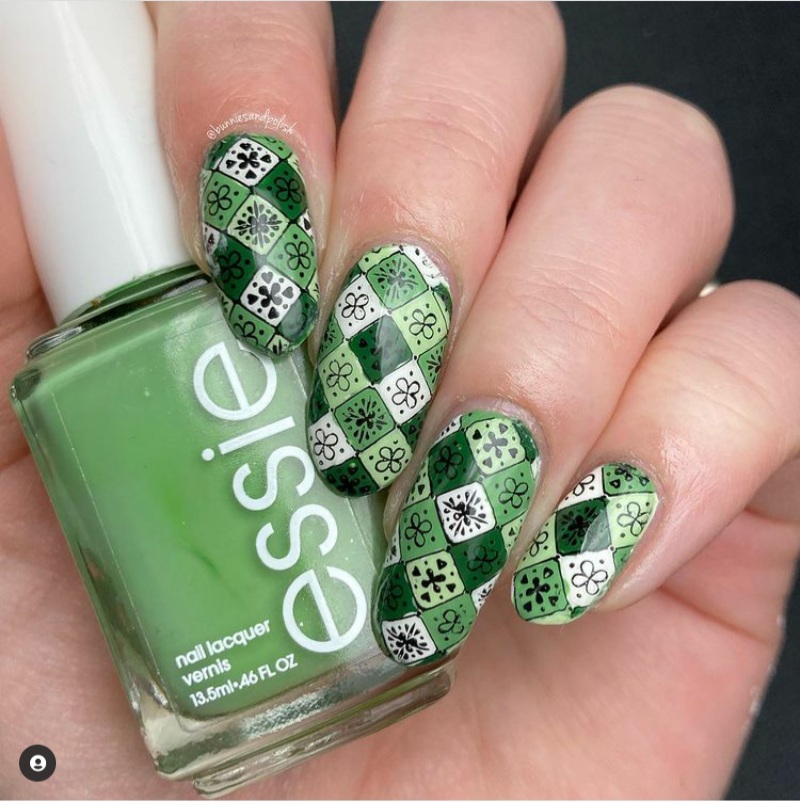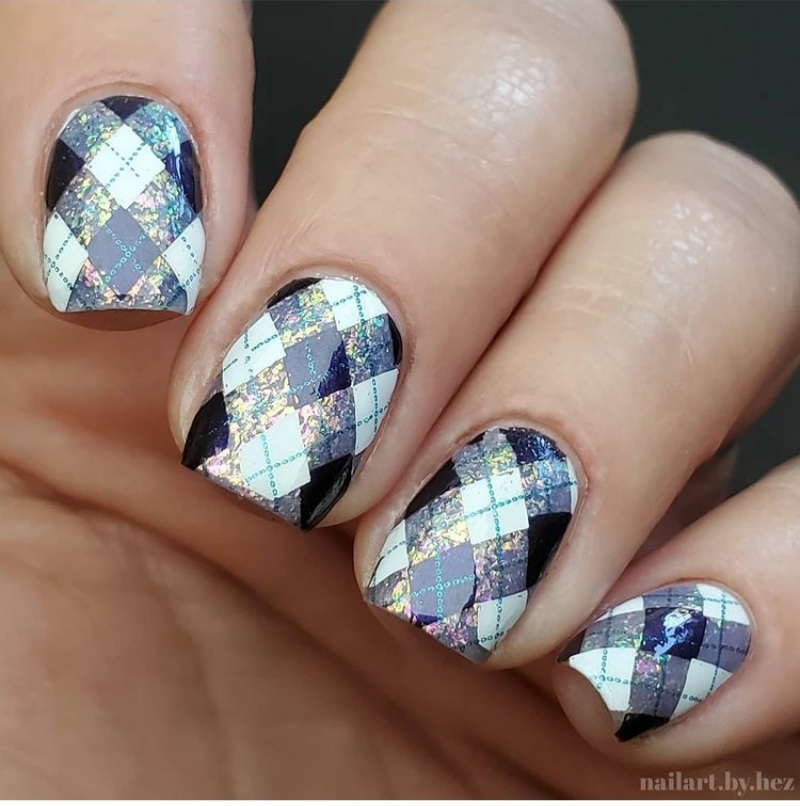
When it comes to nail art, the possibilities are endless. From intricate designs to bold statement looks, our nails can be transformed into miniature works of art. One captivating trend that has recently gained popularity is argyle nails.
Inspired by the classic diamond-patterned textile design, argyle nails are a sophisticated and versatile choice suitable for any occasion. In this blog post, we’ll delve into the charm of argyle nails and how you can achieve this stylish look for yourself.

The Timeless Appeal of Argyle
Argyle originated in the Scottish Highlands and has been a staple in fashion for many decades. Its distinctive diamond-shaped pattern instantly adds a touch of elegance and refinement to any garment.
From cozy sweaters to trendy socks, argyle patterns have become a symbol of sophistication and class. It’s no wonder that this iconic motif has found its way onto our nails, enabling us to carry its timeless appeal wherever we go.

Creating Argyle Nails
To create argyle nails, you can either visit a nail salon or try your hand at it yourself if you have the necessary tools and a steady hand. Here’s a step-by-step guide on achieving stunning argyle nails:
- Prepare your nails: Begin by shaping and buffing your nails to your desired style. Apply a base coat to protect your natural nails and create a smooth canvas for your design.
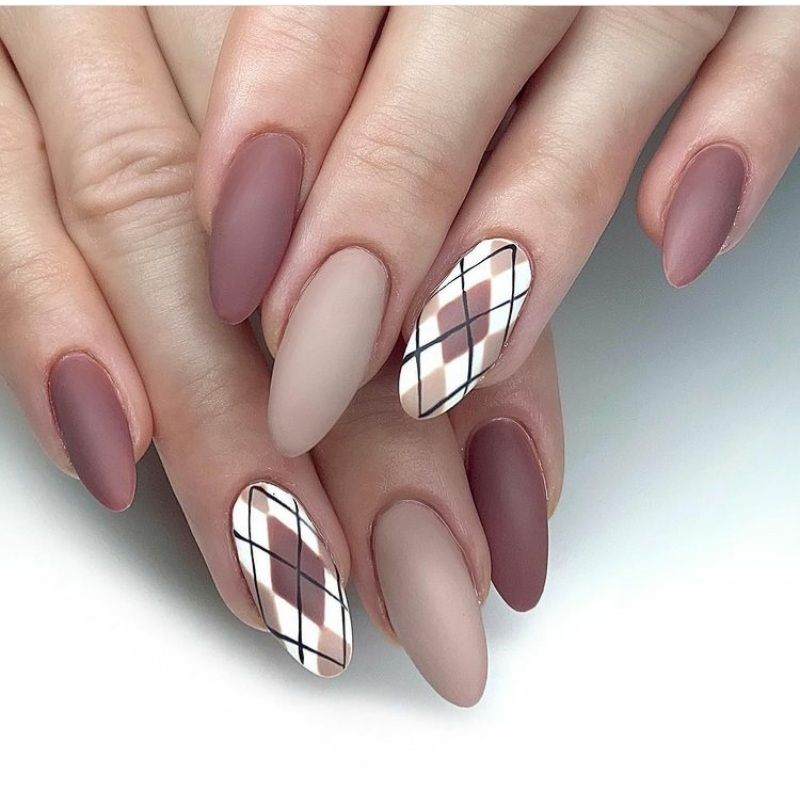
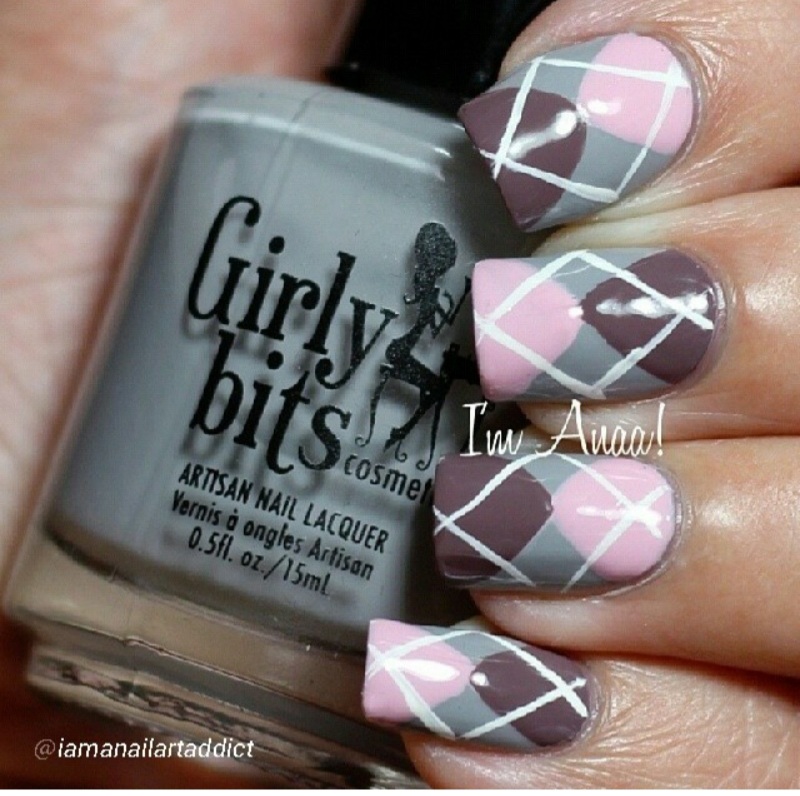
- Apply a base color: Choose a color that complements your style and apply it as the base coat for your argyle design. Neutral shades like white, cream, or light pink work well as they provide an attractive contrast against the argyle pattern.
- Create the argyle pattern: Using a thin striping brush or nail art pen, carefully draw vertical and horizontal lines on your nails to create the diamond-shaped argyle pattern. Start by drawing vertical lines evenly spaced across the nail, and then carefully insert diagonal lines to form the distinct diamond shapes.
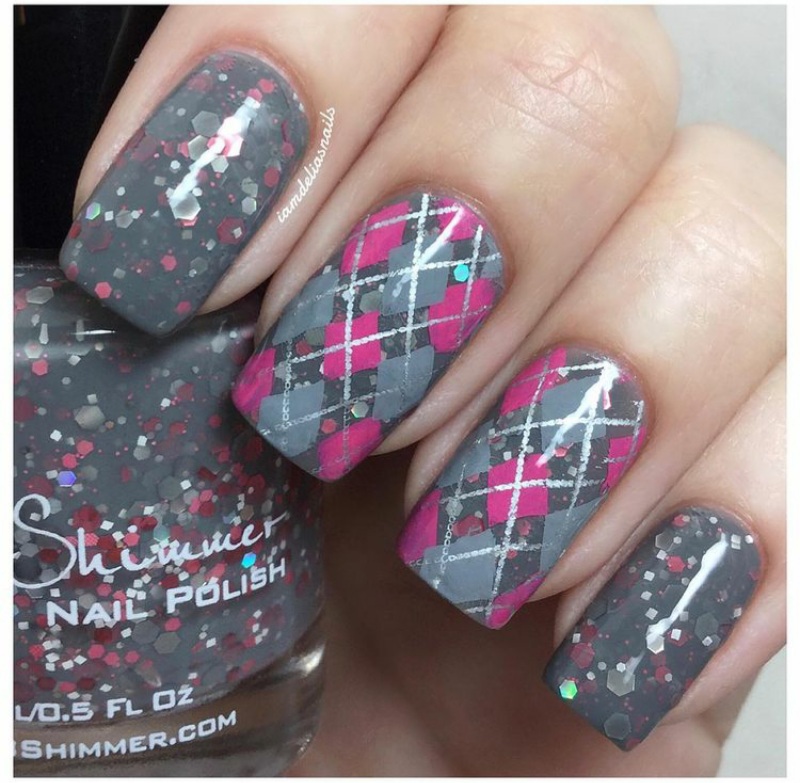
- Add pops of color: Once you’ve drawn the basic pattern, it’s time to inject some color into your design. Choose two or three additional colors to fill in selected diamond shapes, creating a vibrant and eye-catching contrast.
- Seal the design: Allow your argyle nails to dry completely, then finish off the look with a shiny top coat. The top coat not only adds a glossy finish but also helps protect your nail art, ensuring it lasts longer.
Unleashing Your Creativity
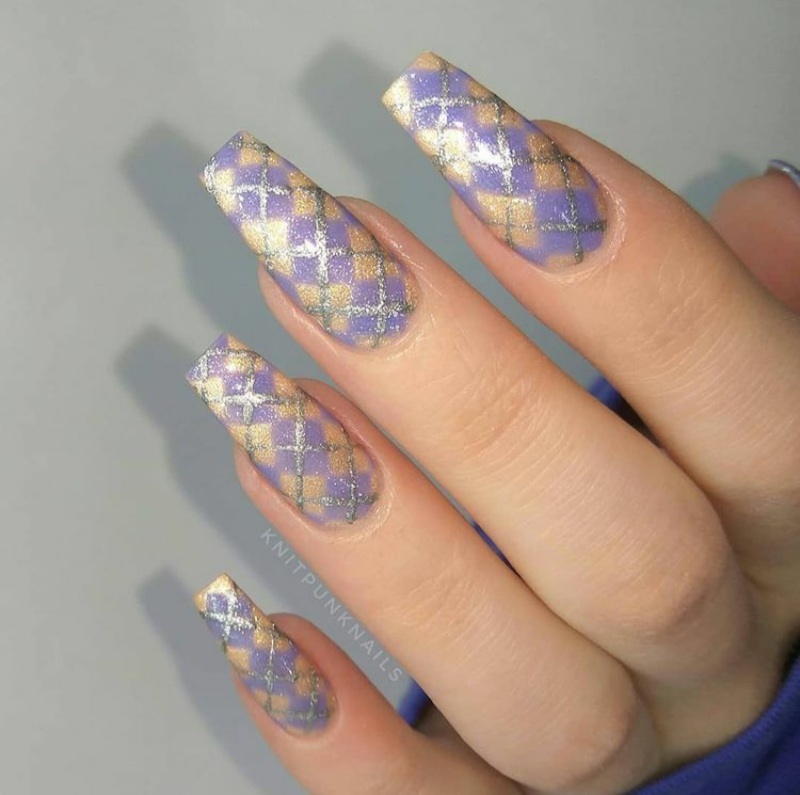
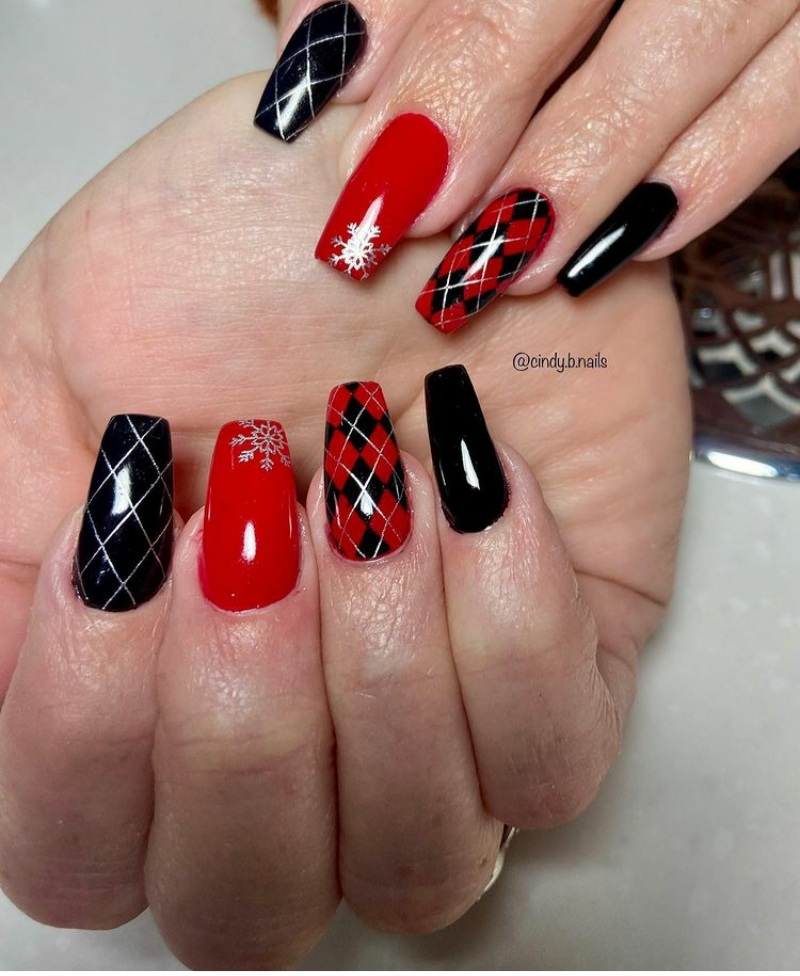
While the traditional argyle design features diamonds of the same size, you can take this nail trend to the next level by experimenting with various colors, sizes, and even incorporating accent nails or additional elements like glitter. There are no hard-and-fast rules when it comes to nail art, so feel free to unleash your creativity and make argyle nails uniquely yours.

Argyle nails offer a stylish way to incorporate a touch of sophistication into your everyday look. Whether you want to make a statement at a special event or simply elevate your nail game, argyle nails are an excellent choice.
The elegance and versatility of this design make it a standout option suitable for all ages, occasions, and personal styles. So why not give this trend a try and enjoy the timeless charm of argyle right at your fingertips?


Related Posts